
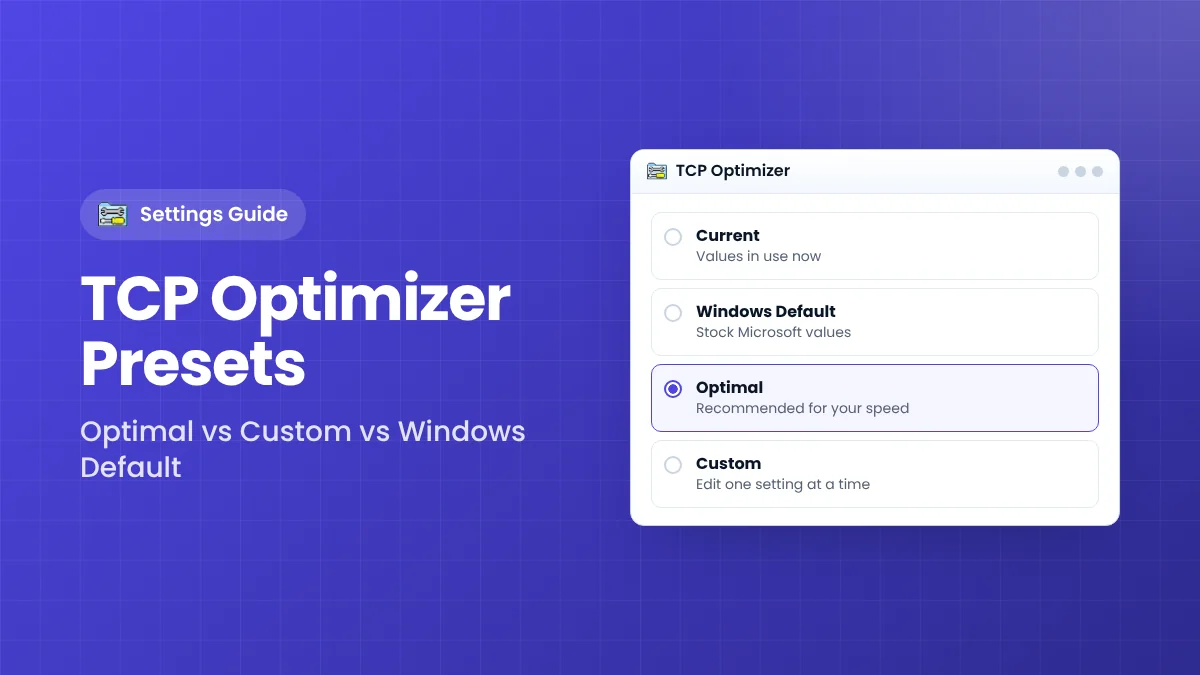
At the bottom of the TCP Optimizer window are four radio buttons: Current, Windows Default, Optimal and Custom. They control what every field in the program shows and what gets applied when you click “Apply changes”. Choosing the right one is the single most important decision you make in the program, so this guide explains each preset in plain language.
How the Presets Work
Each preset fills the General Settings and Advanced Settings tabs with a complete set of values. Switching presets does not change anything on your PC by itself; it only changes what is displayed. Nothing is written to Windows until you click Apply changes and confirm the preview.
This design makes it safe to click between presets and compare values. A useful habit is to look at Current first, then switch to Optimal to see which values would change.
The “Current” Preset
Current shows the values Windows is using right now. The program reads most of them when it starts; on Windows 8 and later it uses PowerShell for this, which is why start-up takes a few seconds.
When to use it
- Before making any change, to see your starting point.
- After a reboot, to confirm settings were applied.
- After a major Windows update, to check whether values were reset.
Why some fields may look blank
Certain values are adapter-specific or stored in a TCP template that Windows does not report back. They may appear empty or unchanged under Current even when they were applied correctly. The log created during “Apply changes” is the reliable record.
The “Windows Default” Preset
Windows Default loads the stock values Microsoft uses for your detected Windows version. Applying it is the quickest way to undo changes made by TCP Optimizer or any other tuning tool.
When to use it
- When something stopped working after tuning and you have no backup.
- When a PC has been through several “booster” programs and nobody knows what was changed.
- As a clean starting point before trying Optimal.
The “Optimal” Preset
Optimal applies SpeedGuide.net’s recommended values for the connection speed you set on the slider. It is the preset most people should use.
What Optimal typically sets
- TCP Window Auto-Tuning: normal for most broadband connections.
- Windows Scaling Heuristics: disabled, so Windows does not restrict the window later.
- Congestion Control Provider: CUBIC on newer Windows 10/11 builds (since version 4.1.1).
- Receive-Side Scaling: enabled on multi-core systems.
- Receive Segment Coalescing: disabled, because it adds delay and caused Wi-Fi issues.
- Large Send Offload: disabled, due to buggy driver implementations.
- ECN Capability: disabled.
- TTL: 64.
The slider matters
Optimal depends on the connection speed slider. Set it to the maximum speed advertised by your provider, not a speed-test result. Very high positions can select the “experimental” auto-tuning level, which the developer recommends using with caution.
The “Custom” Preset
Custom unlocks every field for editing, starting from your current values. It is meant for testing and fine-tuning, not for first-time use.
When to use it
- To change one setting at a time and measure its effect.
- To fix a single problem, such as switching auto-tuning from experimental back to normal.
- To apply gaming tweaks without changing everything else.
A safe Custom workflow
- Back up your current settings.
- Change only one value.
- Apply, restart and test under the same conditions.
- Keep the change only if results improve; otherwise restore the backup.
Quick Comparison
- Current – read-only snapshot of what Windows uses now.
- Windows Default – stock Microsoft values; best for undoing changes.
- Optimal – recommended values for your speed; best for most users.
- Custom – manual control; best for careful testing.
Which Preset Should You Choose?
New users
Use Optimal with a backup. It covers the settings that matter most and avoids risky options.
Troubleshooting a problem
Apply Windows Default first. If the problem disappears, the cause was a tuned setting; then try Optimal and change one value at a time in Custom.
Gamers and advanced users
Start from Optimal, then use Custom to add gaming tweaks such as disabling Nagle’s algorithm, testing each change separately.
How the Speed Slider Shapes the Optimal Preset
The Optimal preset is not one fixed set of numbers. It changes with the connection speed you select, mainly through the TCP Window Auto-Tuning level:
- Very slow connections (under about 1 Mbps): a more restricted auto-tuning level is recommended.
- Most broadband connections: “normal” auto-tuning, which suits nearly all home and office lines.
- Near or above 1 Gbps: the slider can select “experimental”, which should be tested with care.
Since version 4.0.6, the program recommends “normal” rather than “experimental” for connections over 100 Mbps, because experimental caused issues with local network shares.
Preferences that affect recommendations
The Preferences menu contains a “maximum latency” value, 300 ms by default, used when calculating window recommendations. Leave it unchanged unless you understand the Bandwidth-Delay Product. The same menu lists the hosts used by the Latency tab.
Common Preset Mistakes
- Using a speed-test result on the slider instead of the advertised plan speed, which can under-tune the connection.
- Applying Custom values copied from forums without knowing what they do or whether they suit your Windows version.
- Skipping the backup, which makes it harder to return to an earlier custom configuration.
- Judging results before restarting, when most values have not loaded yet.
- Changing several Custom values at once, so it is impossible to tell which one helped or hurt.
Example Scenarios
Home fibre user on Windows 11
Set the slider to the plan speed, choose Optimal, apply with a backup and restart. For most fibre connections this gives “normal” auto-tuning, heuristics disabled and CUBIC congestion control, which is a strong default.
Laptop that lost access to network shares
Select Custom, check the TCP Window Auto-Tuning value and change “experimental” back to “normal”. If shares still fail, apply Windows Default and restart.
Technician setting up several office PCs
Configure one PC with Optimal, test it fully, then export the configuration from the File menu and import it on the others. Ask the IT department first if the PCs are managed by Group Policy.
Gamer on a stable wired connection
Start with Optimal, then use Custom to disable Nagle’s algorithm and network throttling one at a time, testing ping after each change. Keep ECN disabled unless the router is known to handle it well, and restore the backup if any change makes matches feel worse.
Whichever scenario fits you, the pattern is the same: look at Current, back up, apply a preset, restart and test. The presets simply give you a reliable starting point for that process.
Frequently Asked Questions
Does switching presets change my PC immediately?
No. Only clicking Apply changes and confirming writes anything.
Can I save my own Custom configuration?
Yes. The File menu can export the full configuration and import it later or on another PC.
Why does Optimal look the same as Current?
Some values have the same default and optimal setting, and some cannot be read back. That is normal.
Key Takeaways
- Presets only change what you see until you apply them.
- Optimal is the best starting point for most people.
- Windows Default is the fastest way to undo tuning.
- Use Custom to change and test one value at a time.
Download TCP Optimizer
Version 4.1.1 · 668 KB · Freeware